“`html
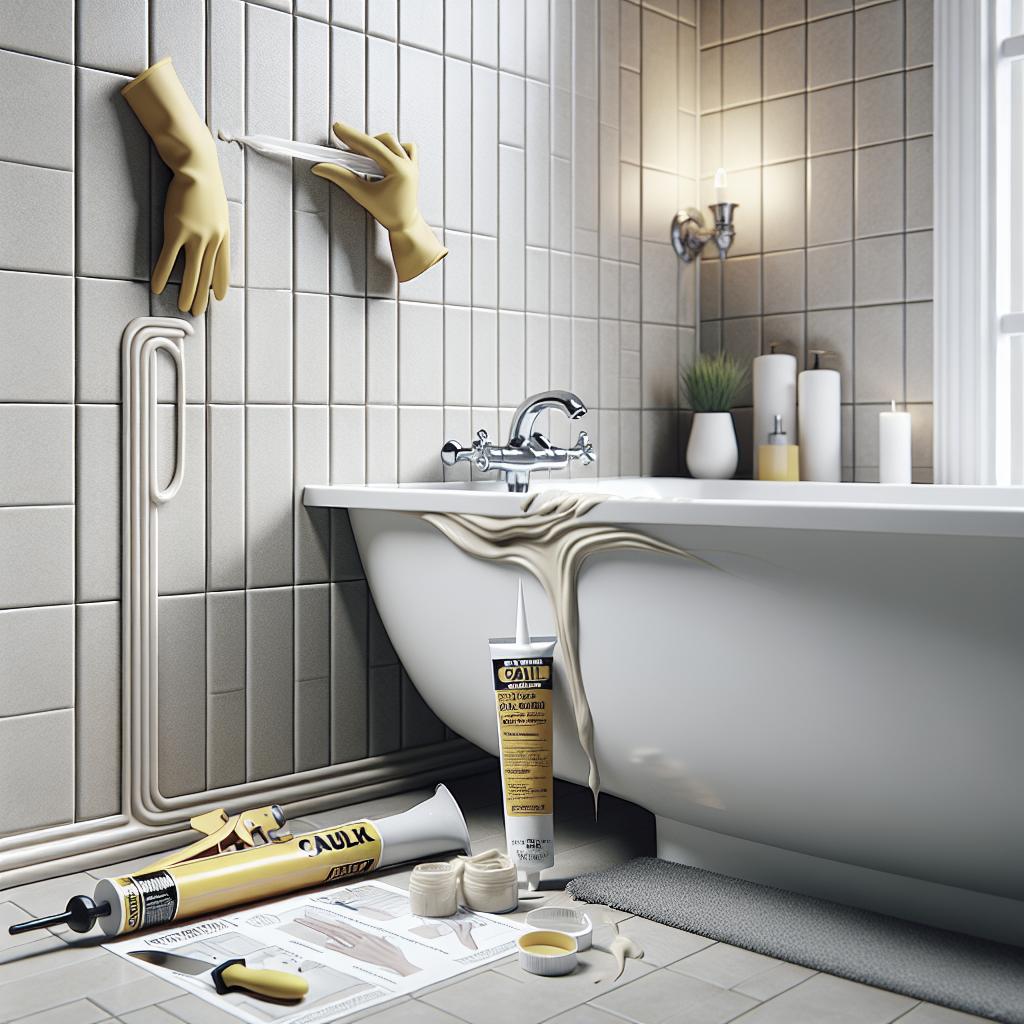
How to Caulk a Bathtub
Refreshing the caulk around your bathtub is a simple yet essential home maintenance task that keeps your bathroom looking fresh and waterproof. In this comprehensive guide, we’ll walk you through the necessary tools and materials you’ll need, help you choose the right type of caulk, and show you the step-by-step process of removing old caulk and applying new caulk around your bathtub. Whether you’re a beginner or a seasoned DIYer, you’ll find valuable tips and troubleshooting advice on dealing with common caulking issues such as gaps, voids, and mold. Additionally, you’ll learn how to maintain your caulked bathtub to extend its lifespan and ensure a mold-free environment. So, let’s dive in and tackle this task that can enhance the longevity and aesthetics of your bathroom space.
Tools and Materials
Before you start caulking your bathtub, gather all the necessary tools and materials. This will make the process smoother and help you avoid interruptions. You’ll need a caulk gun, a utility knife or razor scraper, a cleaning solution, and painter’s tape. Additionally, a sponge or a towel will come in handy for cleaning and smoothing out the caulk later on.
The choice of caulk is crucial, so make sure to get a product specifically intended for bathrooms. This ensures it’s waterproof and resistant to mildew and mold. Having everything prepared beforehand not only saves time but also allows you to focus on applying the caulk effectively, leaving you with a neat and long-lasting finish.
Choosing The Right Caulk
Selecting the appropriate caulk is an integral part of this project. Not all caulks are created equal, and using the wrong type can lead to issues like mold growth or water damage. Choose a caulk that is waterproof, flexible, and long-lasting to ensure optimal performance in the humid environment of a bathroom.
The two main types of caulk suitable for bathrooms are silicone and acrylic latex. Each has its unique properties and advantages, so let’s look at each in more detail to determine which one best suits your needs.
Silicone
Silicone caulk is a popular choice for bathrooms due to its excellent waterproofing capabilities. It is highly flexible, making it ideal for areas that are prone to expansion and contraction due to temperature changes. One of its biggest advantages is its resistance to mold and mildew, making it perfect for humid environments like bathrooms.
However, silicone caulk can be more challenging to apply smoothly, as it doesn’t clean up easily with water and requires mineral spirits for cleanup. It’s also more difficult to paint over, so it might not be the best choice if you’re planning to paint the area around your bathtub after caulking.
Acrylic Latex
Acrylic latex caulk is another viable option for your bathtub caulking project. It’s easy to apply, smooth, and clean up with water, making it user-friendly for those who might not have extensive experience with caulking. Unlike silicone, acrylic latex can be painted, which opens up various design possibilities for your bathroom.
However, it is less flexible and less resistant to water compared to silicone, so it may not last as long in a high-humidity environment without regular maintenance. Acrylic latex often requires more frequent touch-ups to maintain effectiveness over time.
How To Remove Old Caulk
Before applying new caulk, it’s essential to remove the old caulk thoroughly. Start by using a utility knife or a razor scraper to cut along both sides of the old caulk. Be careful not to scratch the tub surface. Once scored, you can pull away the old caulk using pliers or a caulk remover tool.
After removing the bulk of the old caulk, clean the area with a mixture of water and a mild bleach solution to remove any remaining residue and mold. Allow the area to dry thoroughly before applying new caulk, as moisture will prevent fresh caulk from adhering properly.
How To Apply New Caulk
Step 1: Prepare the Caulk Gun
To begin, load your chosen tube of caulk into the caulk gun. Cut the tip of the tube at a 45-degree angle to match the width of the joint you’ll be working on. Puncture the seal inside the nozzle using a long nail or the built-in puncture tool on your caulk gun.
Before applying the caulk, practice on a scrap piece of cardboard to get a feel for the pressure and movement needed to create an even bead of caulk. This will help ensure clean and consistent results when applying it around your bathtub.
Step 2: Apply Painter’s Tape
Applying painter’s tape on either side of the area you’ll be caulking helps achieve a straight, professional-looking finish. The tape acts as a guide, preventing caulk from spreading onto undesired surfaces and keeping your lines clean.
Press the tape firmly into place, making sure it runs parallel to the edge of the joint. This will ensure that only the designated area receives the caulk, resulting in a crisp, well-defined line once the tape is removed.
Step 3: Apply the Caulk
Using the caulk gun, apply the caulk to the seam in a steady, continuous motion. Hold the gun at a consistent angle as you move along the joint, applying gentle pressure to the trigger. Aim for a smooth, evenly distributed bead to avoid excessive caulk build-up.
Switching to a smaller nozzle tip may help achieve smoother application in smaller joints. Always keep a steady pace to avoid gaps or inconsistencies in the caulk line.
Step 4: Smooth the Caulk
Once the caulk is applied, use a moist finger or a caulking tool to smooth it out evenly over the joint. This process is called “tooling” and helps ensure that the caulk adheres properly to both surfaces.
Using a steady and continuous motion, push the caulk deeper into the joint for a stronger seal. Maintain gentle pressure and avoid removing too much of the applied caulk while smoothing out the bead.
Step 5: Remove the Tape
Carefully remove the painter’s tape by pulling it away before the caulk has a chance to dry. This prevents the caulk from sticking to the tape and tearing, ensuring crisp, clean edges.
Remove the tape slowly and steadily at a 45-degree angle towards the newly applied caulk. This will help maintain the integrity of the sleek finish you’ve achieved.
Step 6: Allow the Caulk to Cure
Allow the caulk to cure for at least 24 hours, or according to the manufacturer’s instructions on the packaging. Proper curing is crucial for a durable and waterproof seal around your bathtub.
During this time, avoid using the shower or bathtub to ensure that the caulk is not disturbed or exposed to moisture before fully curing.
Troubleshooting Common Caulking Issues
Gaps and Voids
If you notice any gaps or voids in your caulking line after it has dried, you can easily fix this issue. Start by cleaning the gap area and drying it thoroughly. Then, apply a small amount of caulk directly into the gap, smoothing it out once more to ensure proper adherence.
Consistent inspection and prompt rectification of any gaps increase the longevity and efficiency of your bathtub’s water-tight seal.
Mold and Mildew
Mold and mildew are common issues in bathrooms. If your caulk develops dark spots, it’s essential to clean them using a bleach solution. Regularly cleaning your bathroom areas will help minimize the potential for these unwanted growths in the future.
For a more permanent solution, consider replacing the current caulk with a mold-resistant silicone variety to prevent future mold or mildew formation.
Maintain Your Caulked Bathtub
Regular Cleaning
Maintaining your caulked bathtub involves regular cleaning to prevent buildup of mold and mildew. Use bathroom-safe cleaning products and a soft brush or sponge to clean the caulk line without damaging it.
Pay special attention to the corners where dirt and grime typically accumulate, ensuring that these areas remain clean and dry to prolong the caulk’s lifespan.
Inspect for Damage
Periodically inspect the caulking for signs of degradation, such as cracks, gaps, or discoloration. Early detection of these issues allows for quicker remediation, curbing the potential for water damage.
Monitoring your caulked areas regularly can help you stay ahead of potential hazards and maintain a pristine bathroom environment.
Re-Caulk When Necessary
Even with regular maintenance, caulk doesn’t last forever. Plan to re-caulk your bathtub approximately every five years or sooner if you notice significant wear or peeling.
By proactively reapplying caulk, you ensure that your bathtub continues to repel water effectively, protecting the underlying structures from moisture-related damage.
Next Up In Bathrooms
Once you’ve mastered the art of caulking a bathtub, consider tackling other bathroom DIY projects. Updating your bathroom can be simple and rewarding, with projects like regrouting tiles or installing new fixtures for a refreshed look.
Explore further into renovating your bathroom to complement the newfound seal around your bathtub, perhaps considering accessibility updates or enhancing storage possibilities.
Summary of Main Points
| Section | Details |
|---|---|
| Tools and Materials | Caulk gun, utility knife, cleaner, painter’s tape |
| Choosing The Right Caulk | Silicone vs. acrylic latex, pros and cons |
| Removing Old Caulk | Use knife/scraper, clean surface |
| Applying New Caulk | Step-by-step guide including preparation, application, and curing |
| Troubleshooting Common Issues | Addressing gaps, voids, mold |
| Maintaining Your Caulk | Regular cleaning and inspection |
| Next Steps | Explore further DIY bathroom projects |
“`