“`html
How to Install Outdoor Lighting
Outdoor lighting can both enhance the aesthetics of your home and improve security by illuminating dark areas. Whether you’re looking to replace your existing porch light or install new lighting fixtures to add charm to your exterior, this detailed guide will walk you through the installation process. You’ll learn about the necessary tools and materials, step-by-step instructions, and tips to ensure a successful installation. Prepare to transform your outdoor space with lighting that not only looks great but also offers practical benefits.
Installing vs. Replacing a Porch Light
Choosing between installing new porch lighting or replacing an existing fixture depends on your existing setup and the desired end state. If your home already has electrical wiring in place for a porch light, replacing the fixture can be a straightforward project that might require little more than a screw driver and an hour of your time. In contrast, installing a new lighting system involves more detailed planning, such as running wires and selecting appropriate hardware.
When replacing an old fixture, you’ll need to ensure that the new porch light is compatible with the electrical box and wiring already in place. Check the mount and size of the new fixture to guarantee that it will fit without the need for additional structural changes. For new installations, you will need to consider factors such as the source of power, fixture style and capacity, and potentially new mounting and wiring options.
What You’ll Need
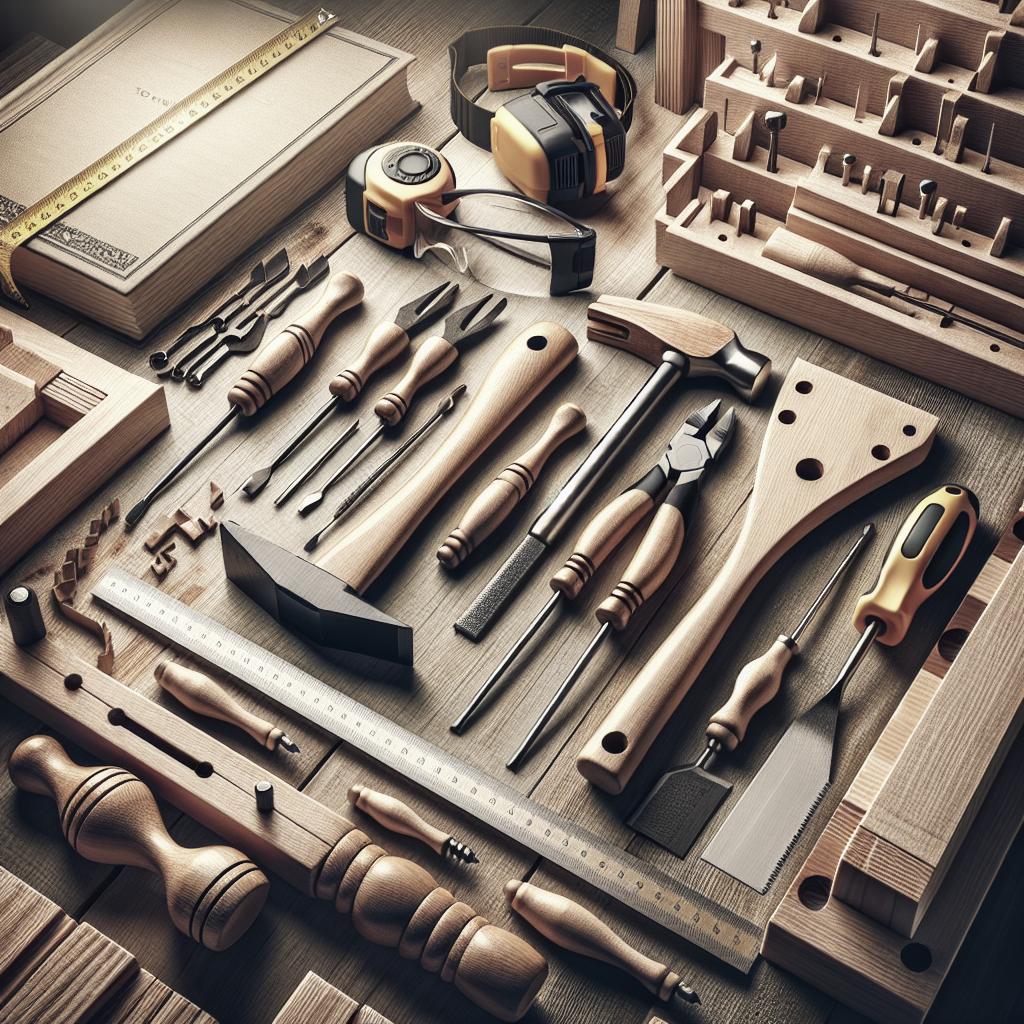
Equipment / Tools
For installing outdoor lighting, having the right tools is essential to make the process smooth and safe. At the very least, you should have a power drill and appropriate drill bits for pilot holes. A utility knife, wire strippers, and a voltage tester are also advisable to handle wires safely and efficiently.
Accessories like a screwdriver set, pliers, a measuring tape, and a ladder for reaching high places are also crucial. Safety gear, including insulated gloves and protective eyewear, should not be overlooked. These tools will help ensure that you can effectively install or replace your porch light.
Materials
The materials you will need largely depend on whether you’re replacing an old unit or installing a new one. If replacing, you’ll generally need the new porch light fixture, compatible bulbs, and potentially some mounting fasteners. Verify that your purchase includes all necessary mounting hardware and instructions.
For a new installation, you’ll need additional materials such as electrical wire, an outdoor-rated junction box, weatherproof connectors, and possibly some caulk to seal gaps against the elements. Select bulbs that match both your new fixture and your desired brightness level to meet the practical and aesthetic goals for your lighting project.
Instructions
Whether you’re installing or replacing a light, safety should be your first priority. Make sure to turn off the power supply at your home’s electrical panel before starting any work. Use a voltage tester to confirm that the existing wiring is not live before you begin working with it.
Check the manufacturer’s instructions for your porch light. Each fixture may come with specific installation guidelines beyond this general guide. Familiarize yourself with the steps upfront to ensure clarity and confidence as you proceed.
How to Install a Porch Light
Drill Pilot Hole
If your electrical box is not pre-mounted, prepare the location by marking where the box will be installed. Carefully drill a pilot hole to guide larger drill bits for making the final mounting holes. Pilot holes are smaller and serve to reduce splintering or cracking.
This step ensures that when you place the peg or mounting screw, it goes in easily, maintaining stability without damaging the surrounding surface. Ensure that your drill bit is appropriate for the surface you are working with, whether wood, brick, or another material.
Cut Hole
After preparing pilot holes, cut the necessary hole for fitting the electrical box. If not already available, use a keyhole saw to make the correct size opening based on your box dimensions. Precision is important to keep the fit neat and secure.
Ensure the cut hole is large enough to insert the box, but not too large as to leave gaps that may allow moisture ingress or tamper with fitting stability. Dedicate time to this part to avoid structural errors.
Run Wire
With your hole ready, the next step is to run electrical wire from your power source to the opening. Ensure the wire is rated for outdoor use, considering both local building codes and potential weather exposure. Use fish tape to guide the wire through walls with ease.
Make sure to leave some extra wire at both ends to facilitate easier connections. Follow coded coloring to maintain correct hot and neutral wire identification and prevent electrical mishaps.
Install Box
Once the wiring is done, install the outdoor electrical box. Secure it within the hole using the appropriate screws, ensuring it is firm and sitting flush against the wall. This element often serves as the foundation for your light fixture.
An additional precaution would be sealing the edges where the box meets the wall with weatherproof caulking, which prevents moisture ingress that might degrade the wiring over time.
Install Light Hardware
Prepare the light fixture components by reading through any attached assembly instructions. Most light fixtures will come partially assembled but will require some connection of parts like rubber gaskets or face plates.
Connect the mounting bracket to the electrical box as per the fixture’s guidelines using screws. Ensure a secure but not overtight attachment to avoid bending or damaging fixture parts.
Wire Fixture
The wiring phase requires your utmost care. Thread the electrical wires through the mounting plate of your fixture. Typically, this involves connecting the black wire (hot) to the black fixture wire, white (neutral) to white, and grounding wires, often green or bare, to each other and the grounding of the wall plate.
Utilize wire nuts to securely fasten these connections, and carefully wrap them in electrical tape to ensure they remain insulated. Double-check all connections for firmness and correct alignment.
Install Fixture
With wires connected, position the fixture base against the mounting bracket. Once aligned, use screws to secure it, making sure no wires are pinched in the process. Install any decorative covers or additional elements to your light fixture.
Once everything is tightly secured, install bulbs in accordance with the fixture specifications. Re-engage the power at your electrical source and test the light for functionality.
Porch Light Tips and Tricks
When choosing a new porch light, consider LED options for energy efficiency and longevity. Though more costly upfront, LED lights offer substantial savings on electricity and often have longer duration than standard bulbs.
Consider investing in motion-sensor or programmable lighting to enhance security while providing convenient, automatic illumination when needed. This can add both safety and modern utility to your outdoor spaces.
Always verify compatibility between the light fixture, bulb, and available voltage to prevent wear or damage. If uncertain about electrical aspects, consult with a qualified professional to ensure safe and compliant installations.
Next Steps
| Step | Description |
|---|---|
| 1. Drill Pilot Hole | Prepare for installing the light by making guide holes to minimize surface damage. |
| 2. Cut Hole | Cut an opening for the installation of the electrical box using a keyhole saw. |
| 3. Run Wire | Guide appropriate wiring from your power source to the fixture site ensuring safety standards. |
| 4. Install Box | Place the electrical box in the prepared hole and secure it, ensuring moisture-proof sealant is applied. |
| 5. Install Light Hardware | Attach mounting brackets and assemble light fixture components as per instructions. |
| 6. Wire Fixture | Carefully connect the corresponding wires and secure them with nuts and tape for insulation. |
| 7. Install Fixture | Secure the fixture to the mounting bracket, ensuring all components and bulbs are correctly fitted. |
“`