“`html
How to Fix Creaky Floorboards
Creaky floorboards are a common household issue that can be both annoying and disruptive. Whether your floors are made of hardwood, carpet, or lie beneath a staircase, addressing the noise is often a straightforward DIY project. In this article, we will guide you through various techniques to silence those pesky squeaks. We’ll cover tools and materials, specific methods for different floor types, and preventive measures. And for those tougher jobs, we’ll help you decide when it’s time to call in a professional. By the end of this article, you’ll have the knowledge to make informed decisions about tackling squeaky floors in your home.
Tools and Materials for Floor Repair
Must-Have Tools for DIY Floor Fixes
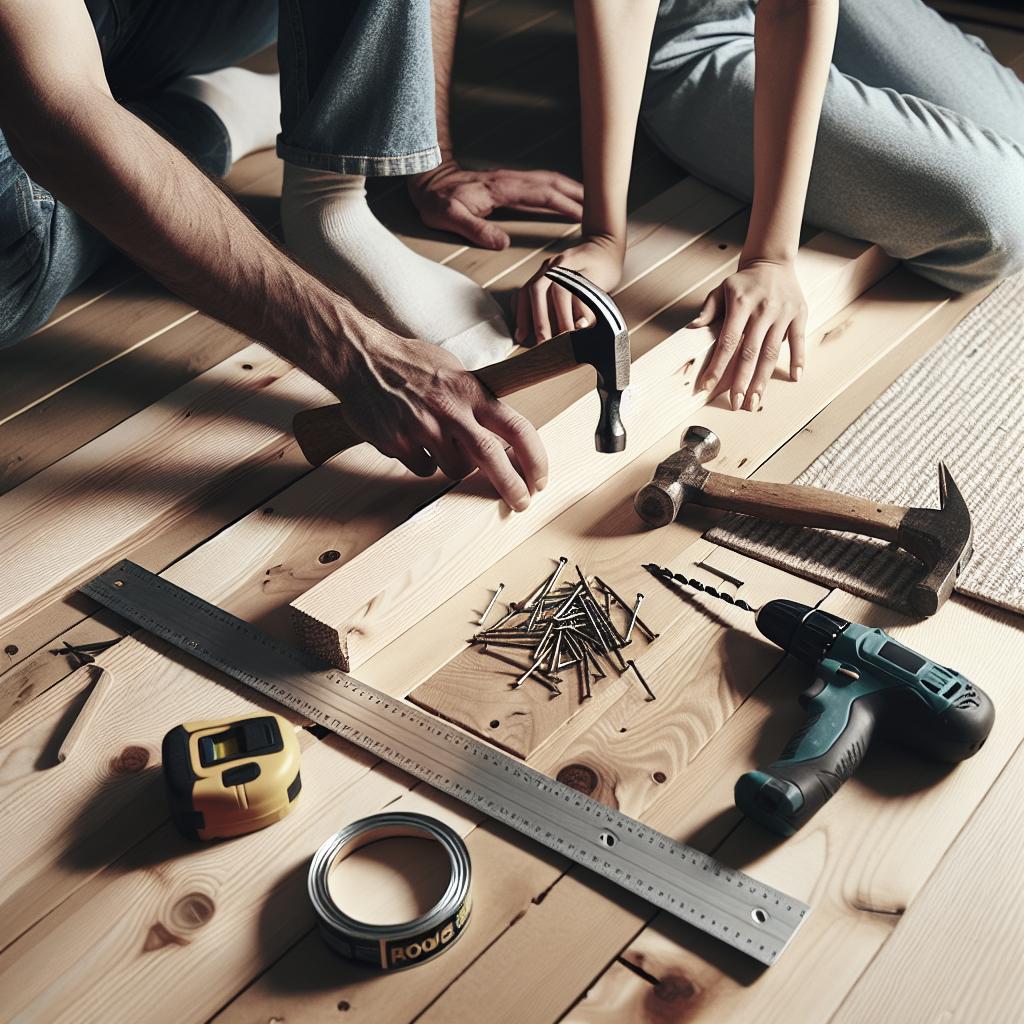
To fix creaky floorboards, you’ll need a few essential tools that are both simple and cost-effective. A hammer and a nail set allow you to reset or secure nails. A power drill, especially one with a screwdriver attachment, is crucial for installing certain repair kits. Finally, a pry bar or cat’s paw can help in gently lifting boards if necessary.
In addition to these, a flashlight or a headlamp can be invaluable when working in dimly lit areas like crawlspaces or underneath staircases. For optimal results, consider investing in a stud finder to locate joists beneath the flooring and avoid accidental damage to pipes or wires.
Recommended Materials for Various Floor Types
The choice of materials largely depends on the type of flooring you have. For hardwood floors, wood filler and a finish that matches your flooring are essential. For carpeted floors, you may need screws specifically designed for carpet installations—many flooring repair kits cater to this need.
For all flooring types, keep shims made of wood or composite material handy. These can stabilize boards from beneath. Additionally, lubricants such as powdered graphite or talcum powder can be used to mitigate minor squeaks resulting from wood-on-wood friction.
Fixing Squeaky Hardwood Floors
Using the Counter-Snap Kit Method
The Counter-Snap Kit is a specialized solution for hardwood floors, featuring screws that break off at the correct height to prevent floor damage. Begin by locating the joist under the squeaky area using a stud finder. Align the screw with the joist, and drill till the head snaps off.
This method is particularly useful because it leaves a small hole that can easily be filled with a wood filler to match the surrounding floor. It’s a favored solution for those who prioritize maintaining the aesthetic integrity of their hardwood floors.
Applying Wood Filler and Lubricants
Using a wood filler can help address small gaps between floorboards, a common cause of squeaks. Choose a filler that closely matches your floor’s finish for the best results. After filling, sand down any excess and apply matching wood stain or finish.
For squeaks caused by friction, consider using a powdered lubricant. Simply sprinkle the powder into the gaps and edges of the squeaky boards, and work it in by walking on the area. It provides a quick and easy solution for less intrusive creaks.
Silencing Squeaks in Carpeted Floors
The Squeeeeek-No-More Kit Technique
The Squeeeeek-No-More Kit offers a convenient method to silence squeaks beneath carpeting. First, locate the floorboard causing the squeak, using the kit’s tool which helps detect joists within the subfloor without requiring carpet removal.
Once located, the screws provided in the kit can be inserted through the carpet and subfloor into the joist. These screws are specially designed to snap below the carpet pile, leaving no visible damage. It’s an effective way to eliminate noise without compromising the carpet’s appearance or integrity.
Alternative Methods for Carpeted Areas
If kits aren’t available, you can also lift the carpet carefully using a knee kicker or a flathead screwdriver. With the carpet rolled back, apply the same Counter-Snap method used for hardwood floors, ensuring the board is secure to the joist.
Another option is to use shims between the subfloor and the joists. This involves a little more effort but can stabilize the subfloor effectively. Gently tap the shim into place with a hammer to eliminate any gaps causing the squeak.
Repairing Squeaky Floors From Below
Using Carpenter’s Glue and Shims
If you have access to the underside of the floor, applying carpenter’s glue in conjunction with shims can provide a long-lasting fix. Insert wood or composite shims into gaps between joists and subfloor, applying glue to the shim or joist for added durability.
This method not only silences the squeak but also reinforces the flooring structure. Be cautious not to force the shim too aggressively, as it may risk lifting the subfloor and exacerbate the issue.
Implementing the Squeak-Ender Solution
The Squeak-Ender is another viable tool that works well from below. It consists of a mounting bracket and screws to secure the floor to the joist permanently. Begin by attaching the bracket to the joist, followed by tightening the screw until the subfloor is snug against the joist.
This technique is particularly effective for boards that have loosened due to age, providing a secure bond that can effectively eliminate most types of floor squeaks.
Addressing Noisy Staircases
Techniques for Accessible Stair Backs
For staircases with open or accessible backs, addressing squeaks is often straightforward. Begin by tightening any existing nails or screws. Adding supplemental screws or brackets can help stabilize the tread to the risers and stringers, reducing movement.
For an additional step, use shims and glue to fill any noticeable gaps between these parts. If creaks persist, installing corner brackets at each tread’s junction with its riser can offer additional support.
Top-Side Repairs for Enclosed Staircases
Enclosed staircases offer more challenges, requiring repairs from the top. Start by removing the stair tread mat or carpet. Inspect and refasten the tread to the riser or stringer with screws rather than nails for better security.
Finally, consider using wood filler for treads or risers showing signs of wear that may contribute to noise. Once repairs are made, finish the treads with a non-slip coating for added safety.
Preventive Measures for Future Squeaks
Proper Installation Techniques
Prevention is key in avoiding future squeaks. Ensure that new floors are installed correctly, with nails or screws properly seated into joists. Consider using adhesive along with mechanical fasteners for an added layer of security.
Acclimating wood to the home’s humidity and temperature conditions before installation is crucial. This minimizes expansion and contraction, common causes of flooring noise.
Regular Maintenance Tips
Regular inspections can help catch potential issues before they become problematic. Check high-traffic areas periodically, and ensure all fasteners remain secure. Listening for unusual new sounds can help in early detection and intervention.
For hardwood floors, maintaining appropriate humidity levels in your home can prevent expansion, contraction, and ensuing squeaks, adding years to your flooring’s life and maintaining its quietness.
When To Call a Professional
Signs That DIY Isn’t Enough
While many squeaks can be fixed with a DIY approach, certain signs indicate the need for professional intervention. If extensive floor movement is observed or if squeaks persist despite multiple attempts at resolution, an underlying structural issue might be at play.
Consult a professional if the flooring is significantly damaged or if you’re unfamiliar with the necessary repairs to avoid unintended damage or injury.
Choosing the Right Floor Repair Specialist
When hiring a professional, look for contractors with specialized experience in floor repairs. Reading reviews and checking for proper licensing and insurance can protect you from subpar workmanship.
Before making a decision, obtain several quotes to ensure you receive competitive and fair pricing. Discuss the project scope and ensure all your concerns and questions are addressed to feel confident in your choice.
Next Up In Flooring
Understanding your flooring needs is essential for home maintenance. Continue exploring our resources on the latest trends and innovations in flooring solutions. Whether you’re considering a complete floor makeover or seeking advanced techniques to preserve existing structures, we’ve got your interests covered with expert tips and insights.
| Section | Main Points |
|---|---|
| Tools and Materials for Floor Repair | Essential tools include a hammer, power drill, and pry bar. Necessary materials vary by floor type—hardwoods need wood fillers, while carpeted areas may require specialized screws. |
| Fixing Squeaky Hardwood Floors | Use the Counter-Snap Kit for a professional finish. Apply wood fillers and lubricants for smaller, surface-level fixes. |
| Silencing Squeaks in Carpeted Floors | Squeeeeek-No-More Kits work well under carpets. Alternative methods involve lifting carpets or using shims. |
| Repairing Squeaky Floors From Below | Carpenter’s glue and shims are effective. The Squeak-Ender rotates screws beneath the floor to secure it to the joist. |
| Addressing Noisy Staircases | For accessible stairbacks, reinforce using screws and brackets. Top-side repairs involve tightening the tread to risers. |
| Preventive Measures for Future Squeaks | Ensure proper installation with well-seated fasteners and humidity control. Regular maintenance is essential to prevent squeaks. |
| When To Call a Professional | Indicators include persistent squeaks or noticeable floor movement. Choose professionals with floor repair experience and ensure fair pricing. |
“`