“`html
How to Replace Broken Window Glass
Whether from an errant baseball or an unexpected storm, broken window glass can be a common household challenge. However, fixing it doesn’t always require professional help. With the right tools and a step-by-step approach, you can replace broken window glass on your own, saving both time and money. This guide will walk you through the essential tools and materials needed for this do-it-yourself task, followed by detailed instructions to ensure a seamless process. From removing the damaged pane to applying fresh putty for a smooth finish, this comprehensive guide covers everything. Let’s dive into replacing that broken window glass with confidence and precision.
What You’ll Need
Equipment / Tools
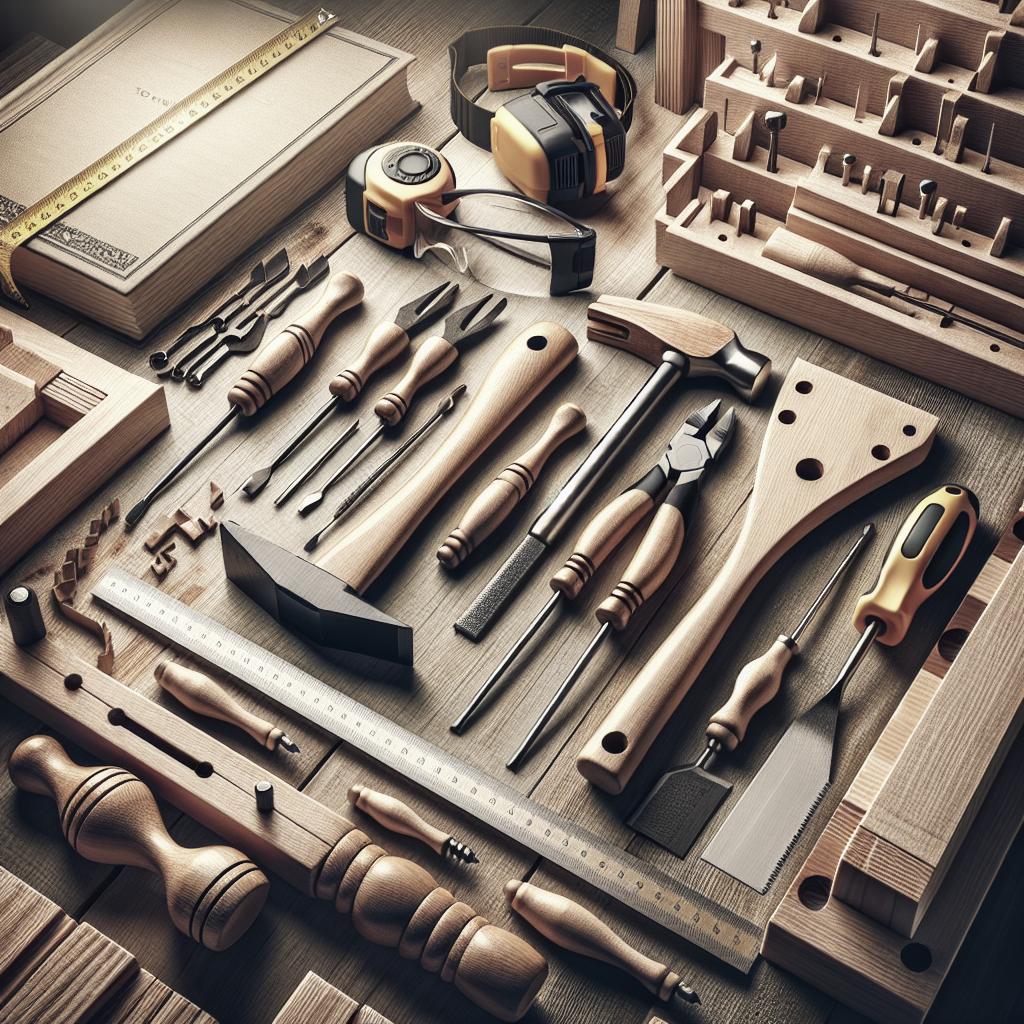
The proper tools are crucial for a successful window repair. You will need a utility knife or putty knife for scraping away the old putty and a pair of pliers for removing any remaining small glass pieces. Additionally, having a glazing tool for applying and smoothing new putty will help ensure an even finish. Don’t forget protective gear, like gloves and safety glasses, to keep yourself safe from sharp edges and debris during the process.
Other valuable tools include a measuring tape for accurately measuring the new glass pane, and a heat gun or a hairdryer, which can be useful to soften old putty, making it easier to remove. Finally, a screwdriver might come in handy if you need to remove any stops or hardware to access the glass.
Materials
Gathering the right materials beforehand will facilitate a smoother window glass replacement. You will need the new glass pane sized precisely to fit the existing frame. In addition, purchase glazing putty for resealing the window and sealing tape or sealant to ensure a snug fit.
You might also need replacement glazing points, which are small metal pieces that hold the glass in place in wood frames. Lastly, a drop cloth or tarp will be useful to protect your work area from debris and minimize cleanup afterward.
Instructions
Remove Stop
The first step involves removing the stop or moldings that hold the glass in place. Carefully use a putty knife or utility knife to sever any paint or sealant. Once the edge is loosened, gently pull the stop away from the frame. Be cautious to avoid breaking or damaging these pieces as they can be reused if left intact.
If the stop is nailed in, a small flathead screwdriver or pry bar may be necessary to ease it away. Always work slowly and deliberately to prevent splintering the wood or damaging the sash.
Remove Glass Shards
Wear safety gloves and glasses to protect yourself from glass shards. Start by removing the larger glass pieces by carefully lifting them from the frame. For smaller fragments, you can use pliers or a vacuum cleaner with a hose attachment.
Dispose of the broken glass securely and cautiously to avoid injury. Deposit the glass in a sturdy container and label it as broken glass for the safety of sanitation workers handling your trash.
Remove Putty and Glazing
The old putty and any remaining glazing points need to be removed next. If the putty is hardened, use a heat gun or hairdryer to soften it. A putty knife will be helpful here to scrape away the softened putty gently. Work gradually and take care not to damage the surrounding frame.
Glazing points are metal tabs that secure the glass in place. Use pliers to remove them carefully. Once removed, inspect the frame and clean it from any remaining debris or old putty traces.
Prep Frame
Prepping the window frame is an essential step in ensuring that the new glass fits perfectly. After cleaning away all residues of putty and debris, sand down any rough edges in the frame to ensure a smooth surface.
Check the condition of the frame; repair or replace any damaged sections. A solid and even foundation will ensure the new pane sits properly and securely. Once prepped, wipe down the frame with a damp cloth to remove dust.
Measure Pane
Accurate measurements are crucial for the new glass pane. Use a tape measure to determine the width and height of the frame, measuring at several points to ensure accuracy. Deduct around 1/8 to 1/16 inch from the measured size to ensure an easy fit, allowing for any natural expansion and contraction of the frame.
Note these dimensions carefully, as they will guide the purchasing of your new glass pane. If you’re unsure or have any doubts, double-check the measurements before buying the glass.
Check Glass
Upon receiving the new glass pane, inspect it for any imperfections or damage. Glass panes should arrive without scratches or cracks. Any deformity could compromise the integrity of the glass and should be rectified before installation.
Lay the glass on a flat, clean surface while checking and handle it with care to avoid any accidental damage. If everything looks perfect, proceed with the next steps.
Replace Sealing Tape and Sealant
For additional insulation and security, use sealing tape or sealant on the edges of the frame before placing the new glass pane. This offers a buffer against wind and moisture penetration and aids in keeping the glass snug in the frame.
Choose sealants rated for window usage and apply a thin bead around the perimeter, ensuring even application for a good seal. Allow this to set according to the sealant’s instructions for optimal results.
Place Glass
With the frame prepped and sealed, carefully place the new glass pane into the opening. Ensure that the pane is centered and fits uniformly within the frame.
Reinsert or replace glazing points around the perimeter to hold the glass securely. These clips will need to be evenly spaced to distribute pressure across the pane adequately.
Apply Putty
Using your glazing tool or a putty knife, apply a smooth bead of new glazing putty around the edges of the glass. Working with small sections is effective as it helps maintain control over the application.
Evenly distribute the putty using your chosen tool, taking care to press it adequately against the glass and frame intersection for a firm hold.
Roll Putty
To perfect the edges of your putty, roll it gently under your finger or with a specialized tool, creating a rounded finish. This helps secure the glass while providing a neat appearance.
This step ensures no gaps exist where air or water could seep through, fully preparing the window against weather exposure.
Apply Putty to Glass
Applying the putty directly to the glass where it meets the frame reinforces the pane’s stability. Ensure there is a consistent amount around the entire edge.
Any excess putty can be removed with a blade or simply by wiping it away with a damp cloth. The aim is a flawless finish that looks professional and keeps your window sealed.
Smooth Putty
The finishing of the putty is crucial both for appearance and function. Use the edge of your putty knife to create a clean, smooth line along the putty edges.
Ensure that the putty adheres well to both glass and frame surfaces. Creating an angled surface allows water to run off easily, avoiding unnecessary pooling which could lead to leaks.
Finishing Touches
Once everything is in place, consider if any touch-up painting is needed especially if you’ve had to remove any old stop moldings. Painting will not only protect your frame from the elements but can also enhance the completed look of your window.
Let the putty cure as per manufacturer guidelines before applying any paint. Once cured, your window should look as good as new, functioning perfectly while excluding weather elements efficiently.
Summary of Main Points
| Step | Description |
|---|---|
| Remove Stop | Detach the stops to access the broken glass. |
| Remove Glass Shards | Safely extract all glass pieces. |
| Remove Putty and Glazing | Clear away old putty and glazing points. |
| Prep Frame | Smooth and ready frame for new glass. |
| Measure Pane | Accurately measure for replacement glass. |
| Check Glass | Inspect new pane for flaws. |
| Replace Sealing Tape and Sealant | Apply new sealing for improved insulation. |
| Place Glass | Fit glass within the frame evenly. |
| Apply Putty | Secure glass with a line of putty around the edge. |
| Roll Putty | Create a rounded finish using tools or fingers. |
| Apply Putty to Glass | Enhance security by applying directly on glass edges. |
| Smooth Putty | Finalize by sculpting putty edges for water runoff. |
| Finishing Touches | Paint and finish after putty has set. |
“`