“`html
How to Make a Wall-Mounted Coat Rack
Introduction: Modern Coat Rack
Creating a stylish wall-mounted coat rack is not only a practical addition to your home, but it’s also a great way to showcase your creativity and woodworking skills. This step-by-step guide is designed to walk you through the process of building your own modern coat rack, from selecting materials to final installation. By the end of this project, you’ll have a unique piece that adds both function and flair to your entryway or mudroom. Let’s dive into each step, ensuring your coat rack is as sturdy and stylish as it is functional.
Step 1: Select Your Materials
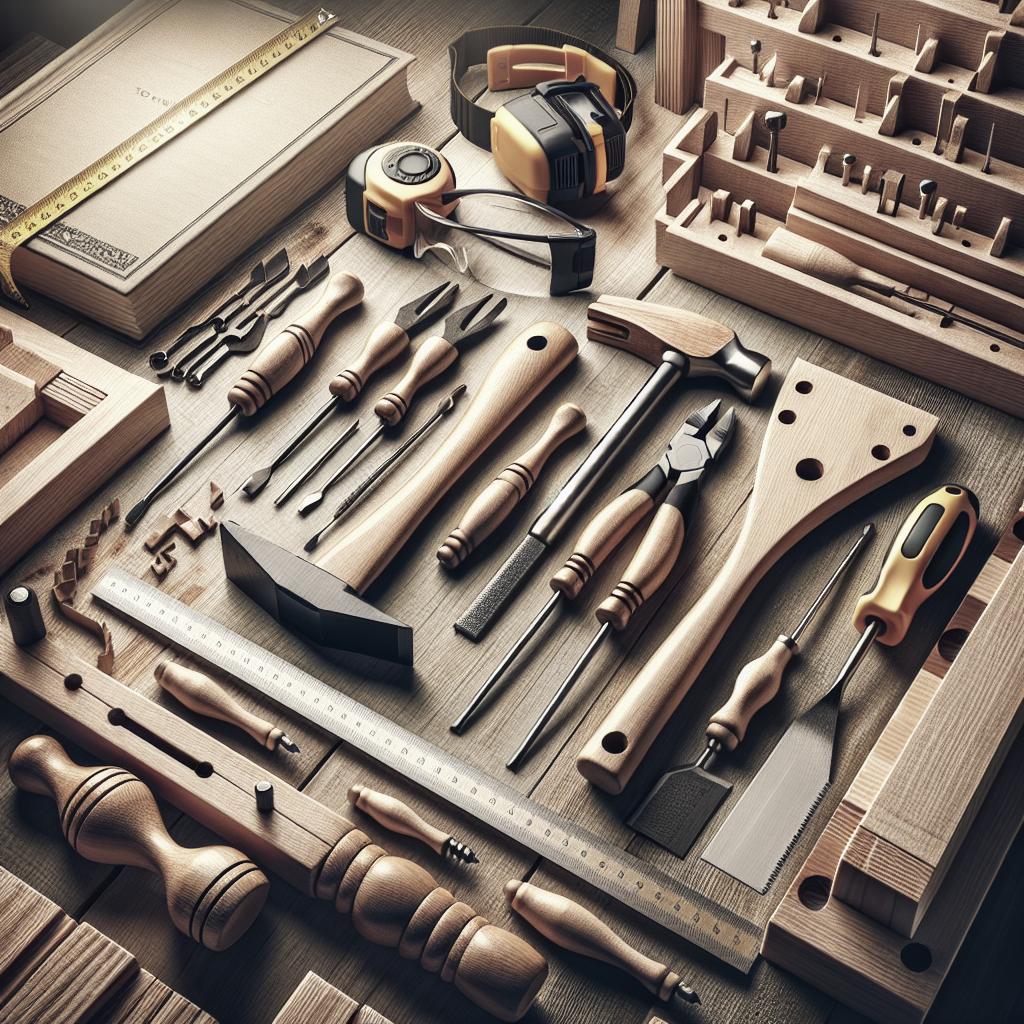
The first step in creating a beautiful wall-mounted coat rack is selecting the right materials. Quality wood is a must, as it provides both the strength and aesthetic appeal needed for a durable, long-lasting piece. Common choices include maple, oak, or walnut, each offering a unique grain and finish. When choosing wood, consider not only the appearance but also the ease of working with it based on your skills and tools available.
Aside from wood, you will need some hardware such as screws, dowel rods, and wood glue. The coat hooks themselves can be purchased separately, with a range of styles from modern to rustic available to suit your décor. Consider the weight-bearing capacity of your selected hooks, especially if you plan to hang heavy coats or bags.
Step 2: Cut and Dimension Lumber
Once your materials are in hand, it’s time to prepare your lumber. Accuracy in measuring and cutting is pivotal to the success of your project. Begin by measuring and marking your wood according to the desired length and width of your coat rack. Use a saw to cut the lumber to size, ensuring clean, straight cuts for seamless assembly. For most wall-mounted coat racks, a length between 36 to 48 inches is standard, though this can vary based on your wall space.
Next, use a planer or sandpaper to achieve smooth, even surfaces on all your wooden pieces. This step not only improves the look of your wood but also aids in the finishing process later on. Ensuring that each piece is dimensioned perfectly is key to a smooth and sturdy final product.
Step 3: Cut Boards Into Sections
With your lumber dimensioned, the next step involves cutting it into sections for the primary structure of the rack. Typically, you would need one long piece for the back of the rack and shorter pieces for the scales or supports. Mark and cut these pieces with precision; they should fit together cohesively and provide proper spacing for your coat hooks.
Planning the placement and ensuring equal spacing between each section will result in a balanced look. If your design includes shelves or additional decorative features, this is the step where you will cut and prepare those pieces as well. Double-check all measurements before proceeding to avoid any costly mistakes in time and material.
Step 4: Cut Angles on the Moveable Pieces
To add functionality or a distinctive design element, you may choose to incorporate angled pieces in your design. These could serve as additional hooks, supports, or decorative accents. Using a miter saw, carefully cut the necessary angles, ensuring consistent cuts at each point for uniformity and a professional appearance.
Maintaining precision and safety during this step is crucial, as incorrect angles can lead to a misaligned structure or reduced functionality. Secure each piece before cutting to prevent shifting, and measure twice to achieve the desired angles accurately.
Step 5: Drill Each Piece for the Dowel Rod
Drilling holes for dowel rods is an essential part of assembling the coat rack structure. Dowel rods add strength and stability to the joints, ensuring the rack can withstand day-to-day use. Mark the locations for each dowel carefully, ensuring straight alignment and consistent spacing for ease of assembly later on.
Select a drill bit that matches the diameter of your dowel rods, and ensure you drill to the appropriate depth. This will guarantee a snug fit, providing a solid, durable connection between each piece. Taking your time during this step can vastly improve the strength and longevity of your finished coat rack.
Step 6: Sand and Finish All of the Pieces
With all pieces cut and drilled, it’s time to sand and finish them. Start with coarse-grit sandpaper to smooth out any rough edges or splinters. Gradually move to finer grit, providing a polished surface ready for finishing. Pay attention to details and be thorough in your sanding to ensure each piece feels smooth to the touch.
Once you are satisfied with the texture, apply your chosen finish to protect the wood and enhance its natural beauty. This could be paint, varnish, or a wood stain, depending on your aesthetic preference. Multiple coats may be required for a robust finish, so ensure thorough drying between applications.
Step 7: Assemble the Coat Rack
Assembling your coat rack involves piecing together the individual sections using the drilled dowel holes and any additional hardware. Begin by inserting dowel rods and securing each joint with wood glue for extra stability. Use clamps to hold the structure in place while the glue dries, ensuring everything aligns perfectly.
Add any metal hardware or hooks according to your design. Ensure they are evenly spaced and securely fastened, capable of supporting the intended weight. Your attention to detail during assembly will pay off in a sturdy, polished final product.
Step 8: Install and Enjoy the Coat Rack
The final step is mounting your coat rack to the wall. Determine the best location, ensuring it is at a convenient height and securely anchored into wall studs or appropriate anchors. Use screws and a level to ensure your coat rack is perfectly positioned.
Once securely installed, your new coat rack is ready for use. Stand back and admire the piece you handcrafted, enjoying both its utility and its addition to your home’s décor. Share it with family and friends, or make more as gifts for loved ones.
Summary of Main Points
| Step | Description |
|---|---|
| Select Your Materials | Choose quality wood and the appropriate hardware to ensure longevity and style. |
| Cut and Dimension Lumber | Ensure precise dimensions for a perfect fit and finish. |
| Cut Boards Into Sections | Prepare the wood sections, planning for the design and functionality you desire. |
| Cut Angles on the Moveable Pieces | Incorporate design elements with precise angled cuts for aesthetics and function. |
| Drill Each Piece for the Dowel Rod | Prepare for assembly with accurate drill placement for dowel rod insertion. |
| Sand and Finish All of the Pieces | Smooth and protect the wood with sanding and finishing techniques. |
| Assemble the Coat Rack | Piece together the coat rack with care for a sturdy and well-aligned structure. |
| Install and Enjoy the Coat Rack | Securely mount the rack on the wall to enjoy your craftsmanship. |
“`